Easy Skeleton Cupcakes – Spooky & Cute
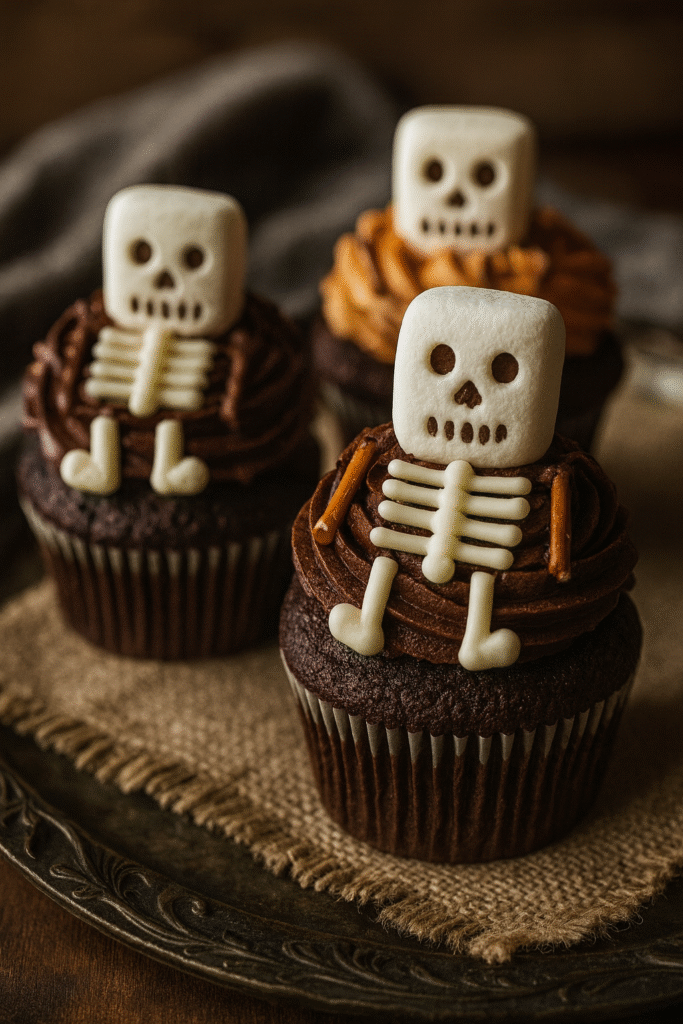
Picture this: it’s the night before your big Halloween bash. You’re elbows deep in frosting and sprinkles, nervously eyeing your watch. The cupcakes cooling on your counter look ordinary, but in just minutes they’ll transform into a tray of grinning Skeleton Cupcakes. Once the party begins, these spooky treats become the first thing both kids and adults swipe from the dessert table. Funny marshmallow skulls, crispy pretzel bones, bright candies everyone wants one because they’re creepy, cute, and surprisingly easy to make. Turning a basic cupcake into a festive centerpiece? That’s what makes Skeleton Cupcakes a repeat favorite every Halloween.
Why You’ll Love Skeleton Cupcakes
Skeleton Cupcakes combine playfulness with simplicity. You don’t have to be a pastry chef to create them. Anyone kids, teens, parents can grab frosting, sweets, and a little imagination to put together edible skeletons.
They’re versatile, too. Chocolate or vanilla, boxed mix or scratch choose what you love. Decorating isn’t only fun but also a perfect group activity. Whether it’s a classroom treat, a haunted house party, or just an after-dinner surprise, these cupcakes fit any spooky celebration. The best part? No one expects perfection. Sometimes the quirkiest skeleton faces are the most popular.
Ingredients & Tools for Making Skeleton Cupcakes
Making Skeleton Cupcakes doesn’t require special tools or hard-to-find ingredients. With a few basics and some flexible options, you can bring these bony desserts to life.
Cupcake Base
Start with your go-to cupcake recipe or a reliable boxed mix. Both work great!
- Boxed options: Classic chocolate or vanilla cake mix. Any brand will do.
- Homemade: Use your favorite chocolate or vanilla cupcake recipe.
- Liquid ingredients: Eggs, oil, and water follow package or recipe directions. For egg-free, use flaxseed meal and water or egg replacers.
- Dairy-free: Swap in almond or oat milk if needed.
Frosting Choices
Frosting is the glue for your decorations and can be as simple or rich as you want.
- Store-bought: Vanilla or chocolate frosting tubs.
- Homemade: Whip up buttercream or cream cheese frosting.
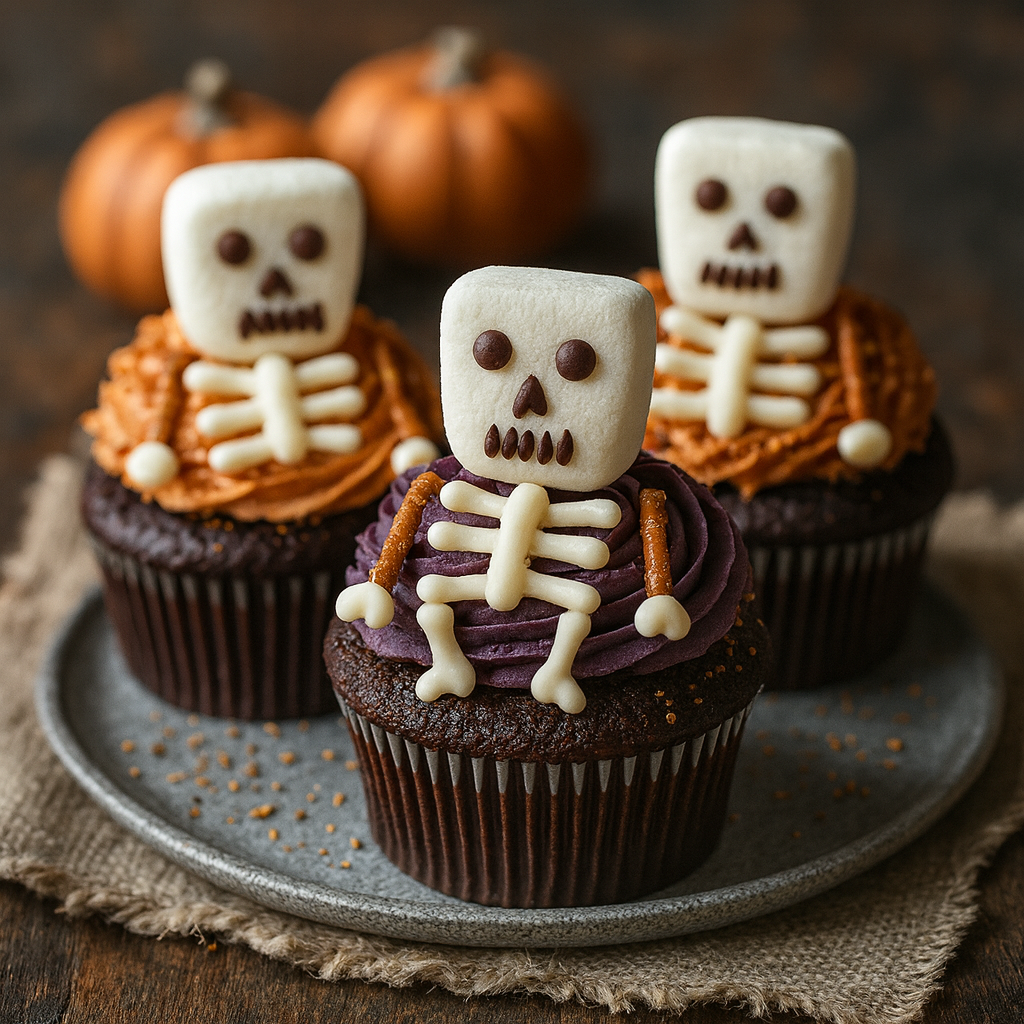
- Color twist: Add a drop of food coloring to match your party theme.
Decorations & Assembly Materials
Here’s where things get fun. You can improvise with whatever’s in your pantry.
- Marshmallows: Standard size for skeleton heads.
- Pretzel sticks, licorice strings, or candy bones: Arms and legs.
- Mini chocolate chips and black decorating gel: Facial features.
- Small round candies (like M&Ms or Skittles): Decoration or skeleton eyes.
- Extras: Chocolate sprinkles, cookie crumbs, or cocoa powder for extra graveyard flair.
Mix and match for your own spin, or let kids choose their own combinations.
How to Make Skeleton Cupcakes: Step-by-Step Guide
This process keeps things straightforward so you can actually enjoy making Skeleton Cupcakes instead of worrying about every detail.
Preparation and Baking
- Preheat your oven according to the recipe or box.
- Line a cupcake tin with paper liners.
- Mix the batter as directed.
- Fill liners 2/3 full this helps them bake evenly.
- Bake until a toothpick comes out clean, usually 15-18 minutes for standard cupcakes.
- Let cool completely on a rack, or the frosting will melt.
Decorating Skeleton Cupcakes
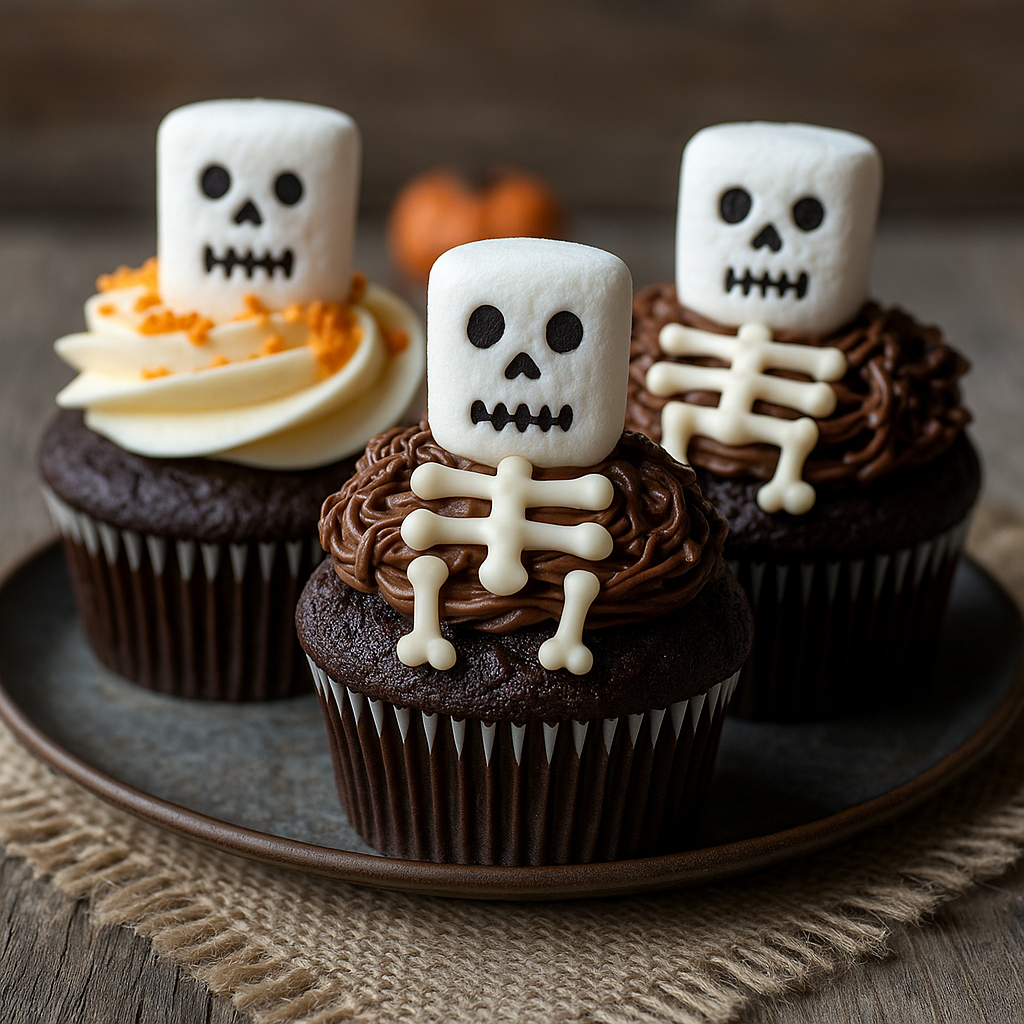
- Frost the tops with a generous layer of buttercream or cream cheese frosting.
- Create the skeleton body: Gently push pretzel sticks or licorice into the cupcake for legs and arms.
- Make the heads: Press one marshmallow onto the top of each cupcake (secure it well).
- Draw faces: Use black gel for eyes, nose, and a stitched smile. Or press in mini chocolate chips for features.
- Add detail: Arrange candy for buttons or rib details. Sprinkle cookie crumbs or cocoa around the base for a dirt effect.
- Customize: Go playful or scary! Some people add candy worms or gummy spiders crawling out from under the skeletons.
Kids can handle most of these steps (with a little help melting chocolate or slicing marshmallows), so call everyone to the table and turn decorating into a family affair.
Serving and Spooky Presentation
For the ultimate Halloween wow, presentation counts.
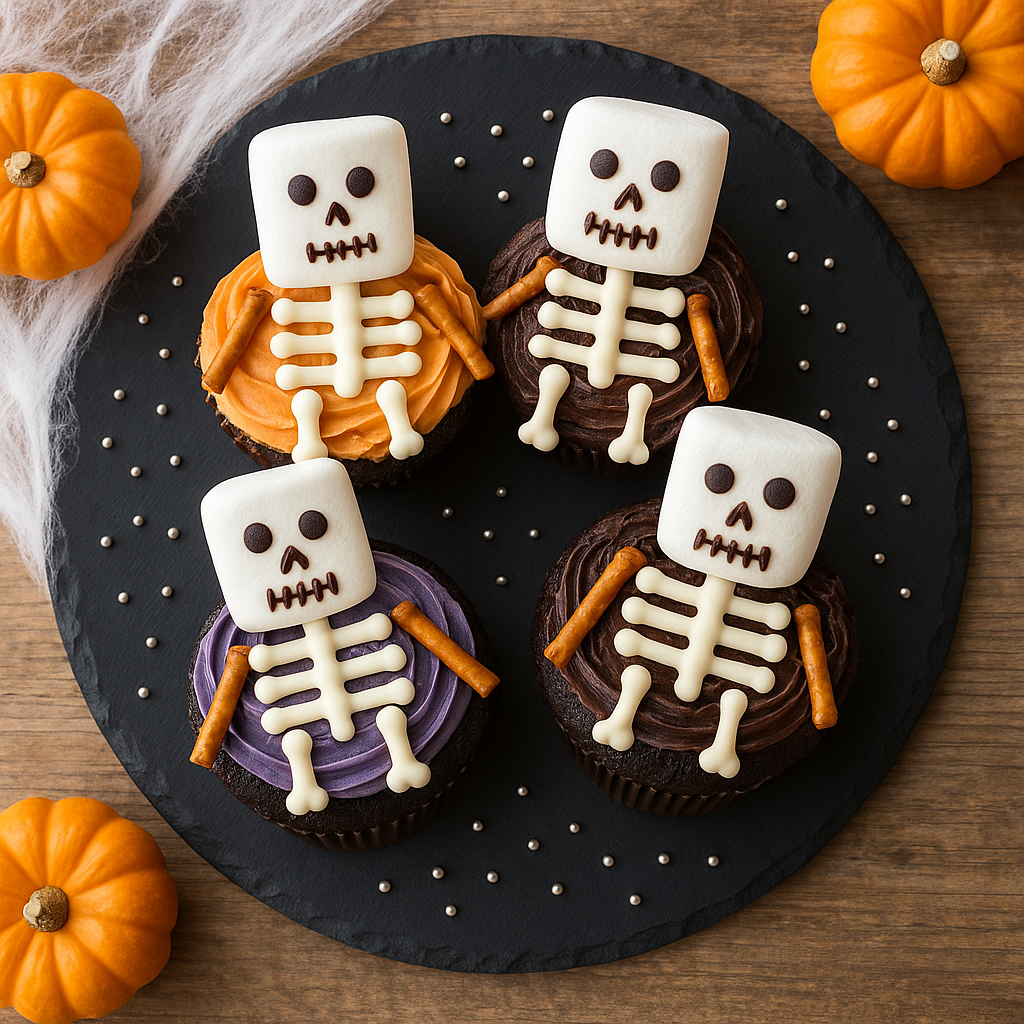
- Arrange Skeleton Cupcakes on a dark platter or faux tombstone tray.
- Scatter crushed cookies or cocoa powder for a graveyard look.
- Nestle candy pumpkins or spiders among the cupcakes.
- Label with paper “RIP” tags for extra flair.
If you’re planning a full Halloween menu, it’s easy to balance sweet with savory by checking out these delicious dinner inspirations. These ideas help round out your party spread and keep guests happy from start to finish.
Expert Tips, Variations, and Storage Guidelines
Skeleton Cupcakes are easy to adapt for parties, allergies, or time crunches. Here’s how to keep things smooth.
Time-Saving & Decorating Tips
- Freeze cupcakes ahead: Bake and cool, then freeze plain in an airtight container. Thaw and decorate just before your event.
- Use a piping bag: Even a zip-top bag with the corner cut works to pipe frosting neatly.
- Dip marshmallows: Lightly wetting marshmallow surfaces keeps decorations in place.
- Draw faces in advance: Pipe faces on marshmallows and let set before assembling, which speeds up final putting-together.
Recipe Variations
- Gluten-free: Use a gluten-free cake mix and check your marshmallow and candy ingredients.
- Mini cupcakes: Make bite-sized skeletons with jelly beans for skulls and pretzel bits for bones.
- Flavor switch: Try spice cake, pumpkin, or red velvet for a spooky color twist.
Storage & Freezing Advice
- Store finished cupcakes in a single layer, loosely covered, at room temperature for up to two days. Refrigerate if it’s warm.
- Freeze undecorated cupcakes tightly wrapped for up to two months.
- Avoid freezing fully decorated Skeleton Cupcakes; marshmallow heads can get mushy and decorations may fall off.
- Marshmallow stability: Secure marshmallows with a dab of frosting or push gently onto the cupcake so they don’t lean or fall off.
What to Serve With Skeleton Cupcakes & FAQs
Perfect Pairings for a Spooky Snack Table
If you’re building an all-Halloween dessert bar, pair Skeleton Cupcakes with:
- Hot apple cider or cocoa
- Popcorn balls or caramel corn
- Witch hat cookies
- Sliced apples with caramel dip
- Gummy worms, eyeball candies, or festive snack mix
Mix up textures and flavors for a crowd-pleasing spread that delights both kids and grown-ups.
Skeleton Cupcakes FAQs
How far ahead can I make Skeleton Cupcakes?
Bake cupcakes up to two days early. Decorate the day of serving for the freshest appearance. You can frost and add faces to marshmallows in advance, but wait to assemble until a few hours before your event.
Is homemade or boxed mix better for Skeleton Cupcakes?
Either works! If you love scratch baking, homemade is extra flavorful. Boxed mix is perfect for big batches or when you need a shortcut.
What can I use instead of pretzels?
Try thin licorice ropes, candy sticks, piped white chocolate, or even sturdy veggie straws for arms and legs.
How do I keep marshmallow heads from falling off?
Anchor them with a little frosting under the marshmallow, or nestle them between pretzel arms for added support.
Conclusion
Skeleton Cupcakes blend whimsy and chill into every bite. Whether you’re baking for a classroom, a haunted house crowd, or just want to impress your friends, these cupcakes deliver. Share your skeleton creations, swap ideas in the comments, and don’t forget to save this post for your next spooktacular celebration!
![Halloween Oreo Cake Bars Recipe [Easy, Festive, and Fun]](https://boredpedia.com/wp-content/uploads/2025/08/Halloween-Oreo-Cake-Bars-768x439.jpg)