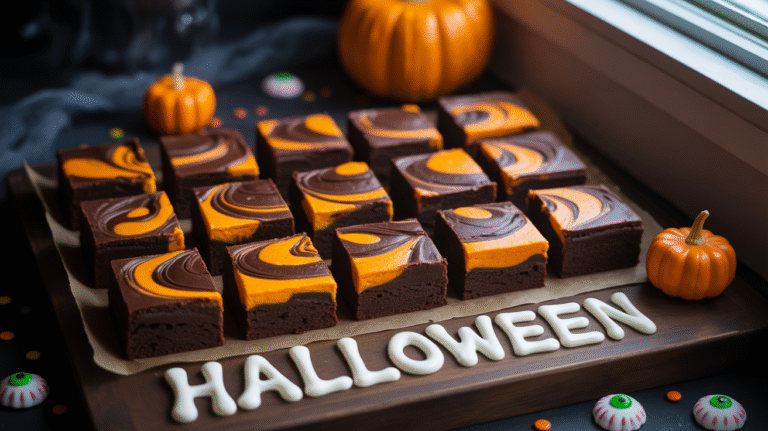
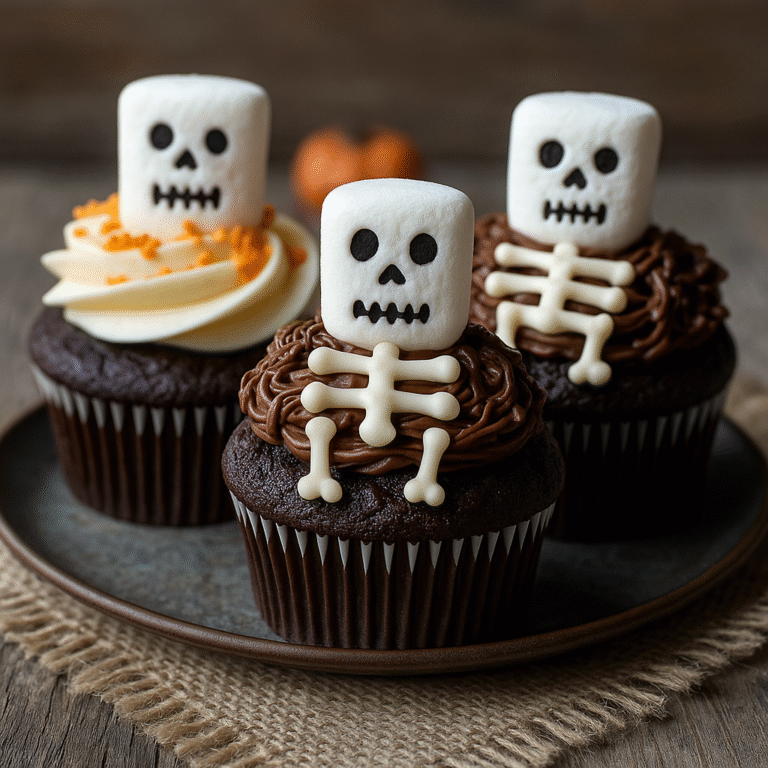
Halloween Oreo Cake Bars Recipe [Easy, Festive, and Fun]
If you love Halloween and can’t resist Oreos, you’re in the right place. Halloween Oreo Cake Bars are the perfect mix of chocolatey goodness and festive color. They’re easy to whip up for parties, school events, or just a night in with family. You’ll find out how to make these fun treats that everyone loves, plus a few tips for getting the best results each time.
About Halloween Oreo Cake Bars
If Halloween had a “best dressed” dessert, Halloween Oreo Cake Bars would be a top contender. These bars combine the rich flavor of chocolate, the crunch of spooky-themed Oreos, and the gooey goodness of a classic bake sale treat. Each bite delivers a mix of fudgy brownie or cake, bursts of creamy cookie center, and pockets of melty chocolate chips. They’re fun, festive, and craveable, perfect for making memories around the kitchen or sharing at a Halloween party.
What Makes These Bars Unique for Halloween
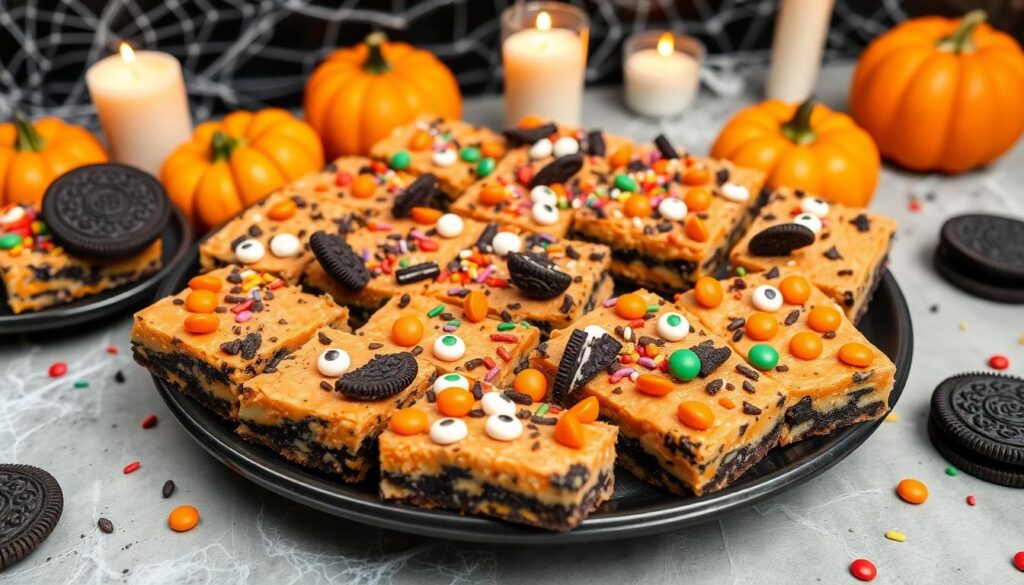
Halloween Oreo Cake Bars stand out with their bright pops of color, thanks to the iconic orange creme of Halloween Oreos. The cookies not only offer eye-catching contrast, but also bring a playful element that fits the spirit of the season. The bars are dense and chewy—like the best parts of cake and brownies together—with a cookies-and-cream twist you don’t expect in traditional Halloween desserts.
They’re more than just another bar cookie. The texture is satisfyingly thick, with a nice blend of softness from the cake mix and crunchy bits from chopped Oreos. With chocolate chips sprinkled throughout, each piece feels like a special treat made for the season. Stack them up at a party or wrap a few in cellophane for classroom gifts—they always get people talking and reaching for seconds.
Because Halloween Oreos have colorful filling and unique designs imprinted on top, they create a show-stopping look even before you bite in. Compared to regular brownies, Halloween Oreo Cake Bars are more playful and festive, with a richer mouthfeel and a flavor combo perfect for fall.
Key Ingredients and Tools You’ll Need
You don’t need a long shopping list or fancy supplies to whip up a batch of these bars. With just a handful of pantry staples and some themed cookies, you get a treat that feels both easy and impressive.
Here’s what you’ll want to gather:
- Halloween Oreos: The orange creme and spooky designs make these cookies the star.
- Cake or brownie mix: Either one works. Chocolate cake or brownie mix gives the bars a deep, rich base.
- Chocolate chips: Semisweet, milk, or white chocolate chips all taste great.
- Optional add-ins: Mix in candy corn, marshmallows, crushed pretzels, or mini peanut butter cups for extra flavor.
- Eggs and oil: For mixing according to the directions on your chosen cake or brownie mix.
For the tools, keep it simple:
- Mixing bowls: One large for the batter, one small if prepping add-ins.
- 9×13-inch baking pan: The classic size for bars; line with parchment for easier removal.
- Spatula and wooden spoon: For combining and smoothing the batter.
- Knife or bench scraper: For slicing clean, neat bars once they’re cool.
These ingredients turn an ordinary box mix into a Halloween highlight that brings plenty of fun to any event. With easy-to-find tools and a flexible ingredient list, Halloween Oreo Cake Bars become a go-to recipe for busy families and creative bakers alike.
How to Make Halloween Oreo Cake Bars: Step-by-Step Guide
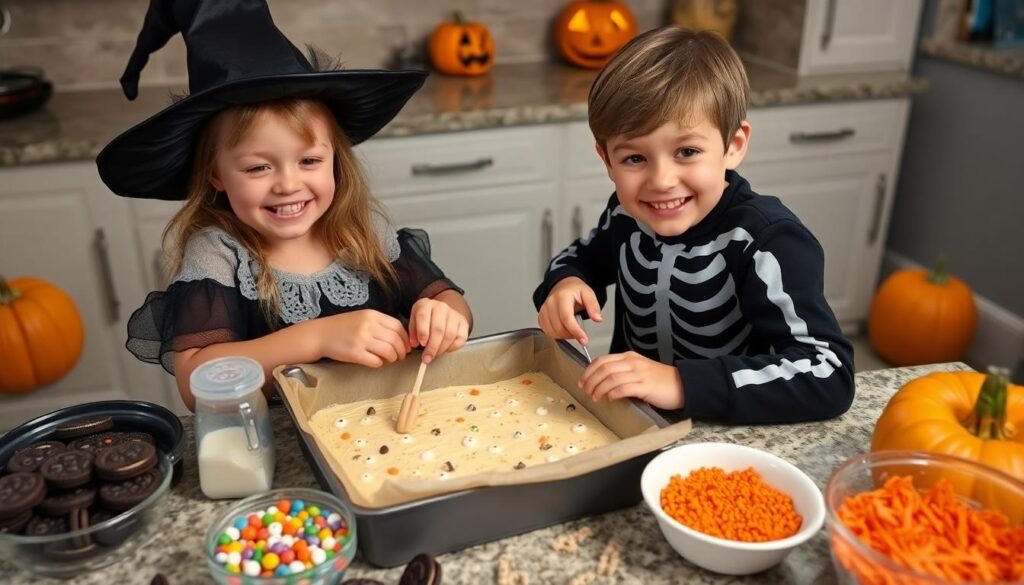
Ready to bring these monster mash bars to life? This section will walk you through each step of the process, from prepping your pan to slicing up a batch of spooky, gooey treats. Whether you’re new to baking or just pressed for time, you’ll find this guide easy to follow and full of helpful details. Halloween magic starts in your kitchen let’s get these cake bars in the oven.
Getting Ready: Prep and Preheat
Before you dive into mixing, take a few minutes to get everything in order. A good setup means less scrambling and a smoother baking experience.
- Set your oven to 350°F (175°C). Preheating is key so your bars bake evenly from edge to center.
- Line a 9×13-inch baking pan with parchment paper or foil, leaving an overhang for easy lifting. Give it a light spray of nonstick cooking spray to prevent sticking.
- Gather your ingredients: cake or brownie mix, Halloween Oreos, eggs, oil, chocolate chips, and any extra candies you want in the mix.
- Chop about two-thirds of your Halloween Oreos for the batter, but keep some whole or halved for a fun top layer.
Having everything set helps build kitchen confidence and makes cleanup much faster later on.
Mixing, Layering, and Adding the Festive Touches
This is where your bars start to show their personality. The Oreo pieces and bright-colored candies help set the Halloween mood.
- Mix the batter: In a large bowl, prepare your cake or brownie mix according to the package instructions. Use eggs, oil, and water as listed on the box. Stir just until combined.
- Fold in extras: Gently stir in the chopped Oreos, chocolate chips, and any other fun add-ins like orange or purple sprinkles, mini peanut butter cups, or candy-coated chocolates. Try not to overmix, so your bars stay soft and tender.
- Layer for the best look: Pour about two-thirds of the batter into your lined pan, spreading it into the corners. Sprinkle a layer of whole or halved Halloween Oreos across the top. Follow up with another sprinkle of candies or chips.
- Top it off: Drop dollops of the remaining batter over the cookies and gently swirl with a spatula. Try to leave some cookies peeking out for visual pop.
Colorful add-ins don’t just look great—they bring extra crunch and flavor bursts to each bite, making your bars a treat for both eyes and taste buds.
Baking, Cooling, and Cutting the Perfect Bars
With your pan layered up and ready, it’s time for the final steps that deliver that gooey, chewy texture everyone loves.
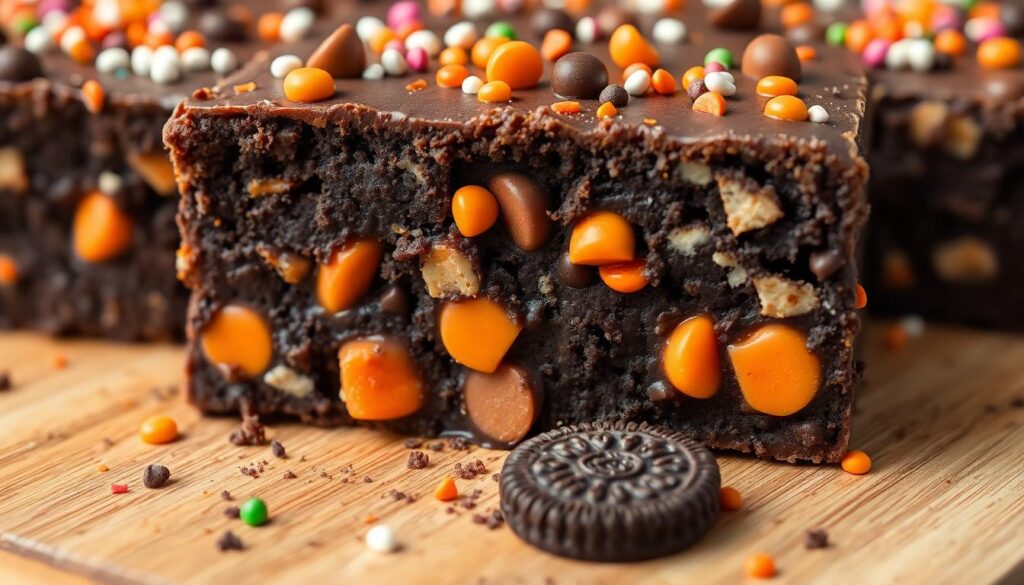
- Bake: Slide the pan into your preheated oven. Bake for 28–32 minutes if using cake mix, or until a toothpick comes out mostly clean (a few crumbs are good for gooey bars). Brownie mix may take a little less time, so check starting at 25 minutes.
- Cool: Let the bars cool in the pan on a wire rack for at least 20 minutes. For the best shape and cleanest slices, pop the pan in the fridge for another 30–45 minutes. This helps firm up the fillings and keeps the bars from falling apart.
- Cut and serve: Grasp your parchment overhang and lift the bars out of the pan. Set on a cutting board. Use a large, sharp knife or bench scraper to cut into squares or rectangles. Wipe the blade between cuts for tidy edges.
Once cut, arrange the bars on a platter or store in an airtight container for up to 4 days. Now you’re ready for a sweet, festive treat that’s always a crowd-pleaser.
Creative Decorating, Customization & Troubleshooting
When you bake Halloween Oreo Cake Bars, the fun doesn’t stop when the bars come out of the oven. Bringing your own style to decorating makes these treats shine on any party table. You can tweak the recipe for all sorts of diets and cravings, and even fix those little hiccups that pop up along the way. Let’s jump into easy ideas and fixes that help your bars stand out (and taste amazing).
Spooky & Fun Decorating Ideas
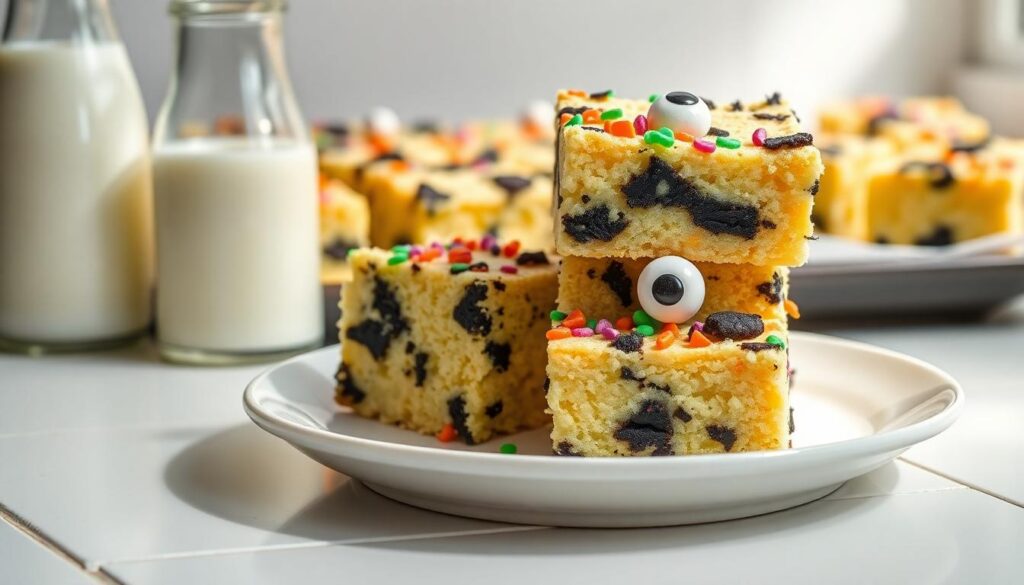
Want to make Halloween Oreo Cake Bars look extra festive? Grab some candy, colored icing, or themed sprinkles and get creative. The bars become your blank canvas for spooky, silly, or cute decoration.
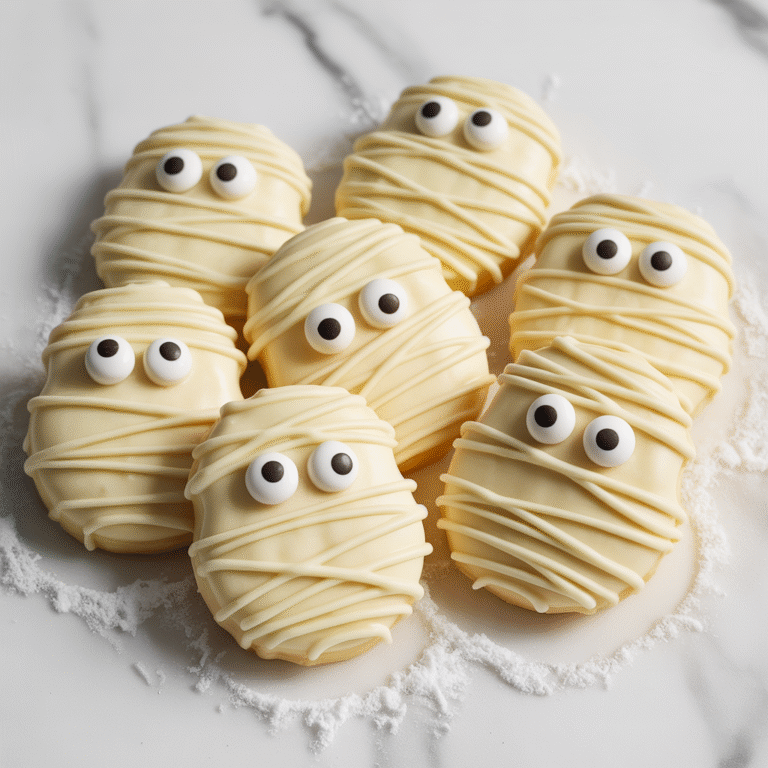
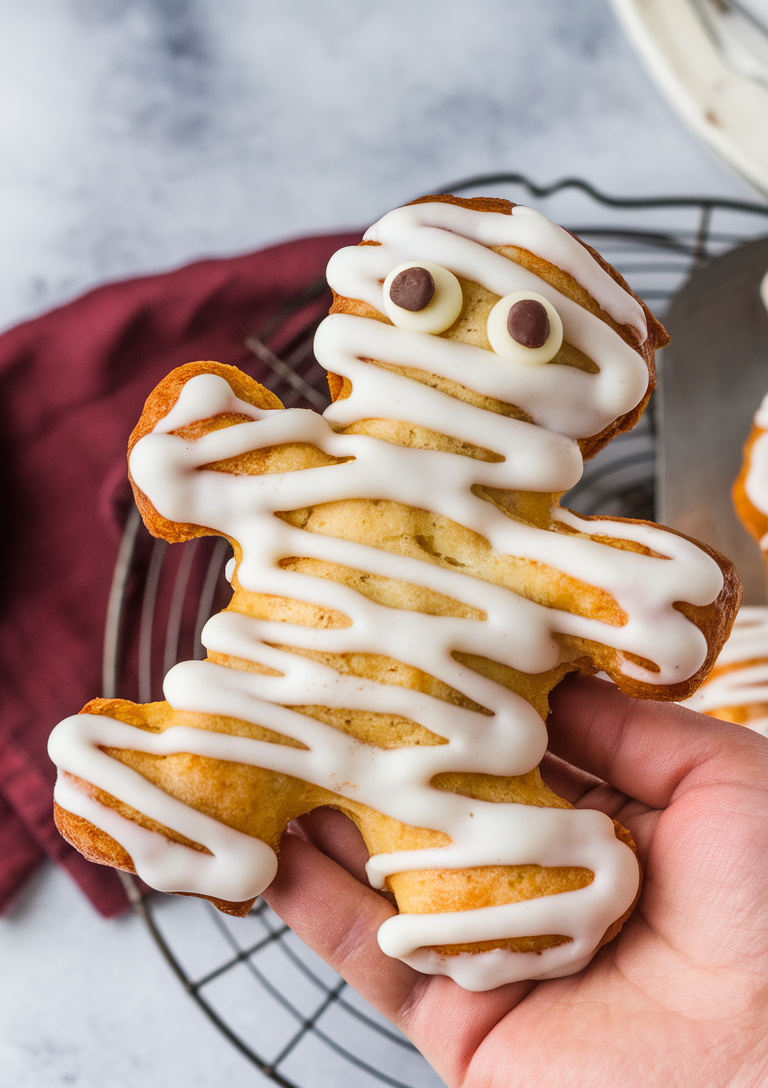
- Candy Eyes: Stick candy eyes onto the bars while the chocolate is still warm. Suddenly, every square is a monster or mummy staring back at you.
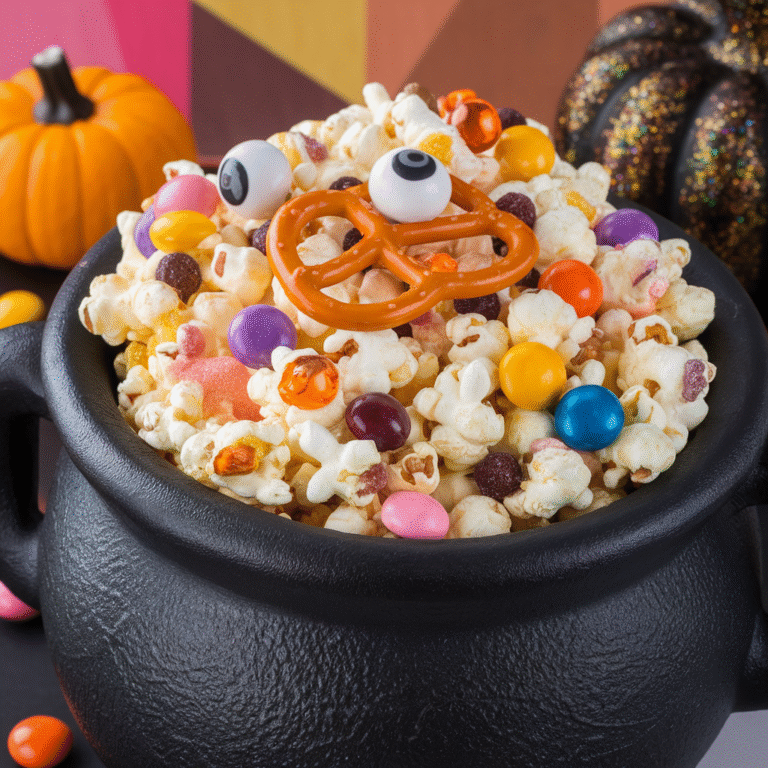
- Gummy Worms and Halloween Candy: Tuck gummy worms or candy corn into the top layer. These treats pop with color and make the bars feel straight from a haunted house.
- Colored Drizzles: Melt white or milk chocolate and swirl in a few drops of orange, purple, or green food coloring. Drizzle on top for a party look.
- Spooky Sprinkles: Go for bats, ghosts, pumpkins, or just orange and black. Press them in while the bars are cooling, so nothing rolls off.
- Cookie Tombstones: Press a half Oreo or a “Boo!” mini cookie upright for a quick graveyard theme.
You’ll be surprised by how a small detail, like candy eyes or sprinkles, changes the whole vibe. Kids love to help with this part, too, since it’s all about having fun.
Customizing the Bars for Different Needs or Tastes
You can serve Halloween Oreo Cake Bars to nearly anyone with just a few smart swaps and tweaks. Whether you’re baking for allergy-friendly classrooms or just mixing things up with new flavors, it’s easy to find a fit.
- Gluten-Free Version
- Swap the Mix: Use a gluten-free chocolate cake or brownie mix. Most bake up just as chewy and rich as classic versions.
- Gluten-Free Sandwich Cookies: Look for gluten-free chocolate sandwich cookies (many brands offer these year-round).
- Dairy-Free and Vegan Options
- Cake/Brownie Mix: Check for dairy-free or vegan cake mixes. Many “accidentally vegan” varieties exist at bigger stores.
- Butter/Oil: Use plant-based butter or a neutral oil like canola or coconut.
- Vegan Chocolate Chips: Many brands carry dairy-free chocolate chips or chunks.
- Oreos: Original Oreos are dairy-free, but double-check the Halloween versions for added dairy in colored creme.
- Change Up the Oreos
- Flavored Oreos: Use Pumpkin Spice, Golden, or even Mint Oreos. The filling colors look wild, and the flavor keeps things exciting.
- Mini Oreos: Sprinkle mini Oreos into the batter or on top for bite-sized, crunchy bits.
- Extra Treat Mix-Ins
- Add Pretzels: Toss in chopped pretzels for a salty finish.
- Candy Bar Chunks: Sneak in bits of Snickers, Milky Way, or Reese’s for an overload of fall flavor.
- Marshmallows: Press mini marshmallows into the top before baking for a gooey, toasty effect.
- Go Double-Layer
- Make two thin cake or brownie layers. Fill with a whipped cream cheese or marshmallow fluff frosting. Stack and chill before slicing for a thick, bakery-style bar.
- Press extra Oreos between the layers for a dramatic cross-section when cutting.
With these swaps, you can keep the festive magic alive for every guest at your party.
Troubleshooting Common Problems
Even experienced bakers hit a snag sometimes. Luckily, most issues with Halloween Oreo Cake Bars have quick fixes that get you right back on track.
Bars Too Gooey or Undercooked
- Problem: Bars seem mushy or won’t hold a shape.
- Fix: Bake a few extra minutes, checking every couple of minutes. Let cool longer, preferably chilled—this helps them set.
Bars Too Dry or Crumbly
- Problem: Bars are falling apart or feel dry.
- Fix: Next time, reduce baking time by 3–5 minutes. Add an extra egg or a tablespoon of oil for extra moisture.
Sticking to the Pan
- Problem: Bars won’t lift out or break into pieces.
- Fix: Always use parchment or foil with an overhang. If stuck, let cool fully, then run a thin spatula or butter knife along the sides.
Oreos Sinking to Bottom
- Problem: Cookie pieces settle while baking.
- Fix: Coarsely chop Oreos (not too fine), and gently fold them in just before baking so the batter stays thick.
Bars Spreading Too Thin
- Problem: Bars rise and then fall flat or come out like pancakes.
- Fix: Double-check pan size (use 9×13 inches). Too much oil or extra-large eggs can also thin the batter—measure carefully.
Decorations Melting or Bleeding
- Problem: Sprinkles melt, or colors run.
- Fix: Wait until bars are almost cool before adding more delicate decorations or use decorations labeled “bake-safe.”
With a few simple fixes, your Halloween Oreo Cake Bars stay looking (and tasting) like a treat straight from the neighborhood bakery.
Serving, Storage, and FAQs
Halloween Oreo Cake Bars are the type of treat you want to show off. They look great on a party table and taste even better fresh out of the pan. To keep them at their best, here’s everything you need to know about serving, storing, and making these bars a hit at any event. We’ll also answer a few questions you might have along the way.
Serving Suggestions for Halloween Events
Presentation is part of the fun with Halloween Oreo Cake Bars. These easy tips help your bars turn heads and keep everyone coming back for seconds.
- Slice into shapes. Instead of basic squares, use Halloween cookie cutters for shapes like pumpkins, bats, or ghosts. A sharp metal cutter works best if the bars are chilled.
- Tiered dessert trays. Stack cut bars on a tiered tray alongside other spooky treats like cupcakes or candy apples. The orange creme filling pops on black serving plates.
- Party platters. Arrange the bars in a circle, alternating each one with mini Halloween Oreos or candy corn for extra color.
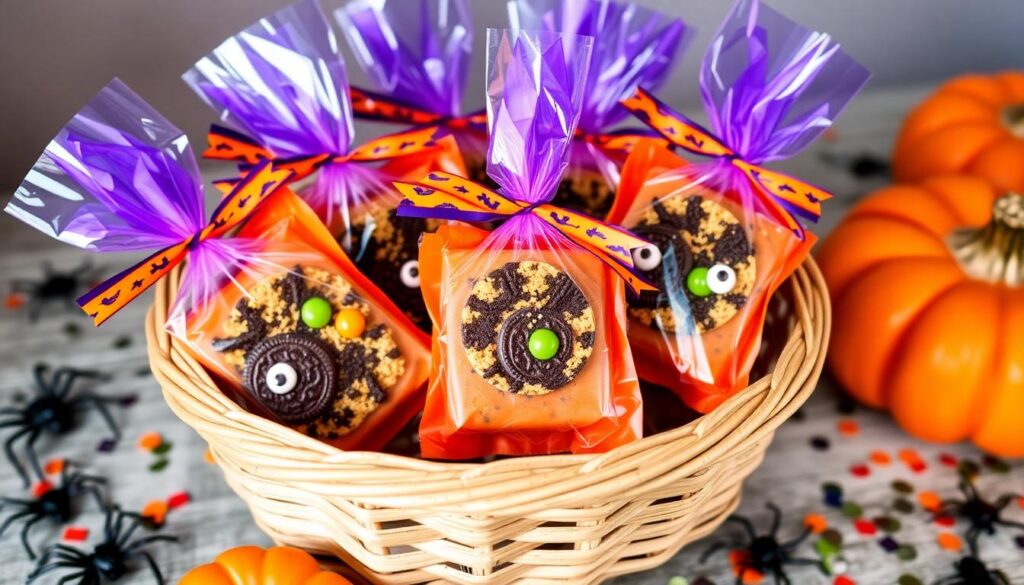
- Individually wrapped. Wrap each bar in plastic wrap or cellophane and tie with orange or purple ribbon for school parties or safe trick-or-treat gifts.
If you want your bars to stay looking sharp at an outdoor party or on a haunted snack table, put them out just before serving. They hold up well at room temperature for a few hours.
Storage, Freshness, and Freezer Tips
Keep your bars tasting fresh and rich with smart storage.
Room Temperature Storage
- Store bars in an airtight container at room temperature for up to 4 days.
- Place parchment or wax paper between layers if stacking to prevent sticking.
Fridge Tips
- For firmer bars or a make-ahead option, keep them in the fridge.
- Chilled bars last up to a week and slice even cleaner for neat serving.
Freezing for Later
- Freeze cut bars by wrapping each one in plastic wrap, then place in a zip-top freezer bag.
- Bars keep in the freezer up to 2 months.
- Let them thaw at room temperature or in the fridge before eating. The Oreos may soften slightly, but flavor stays strong.
Keep bars away from any moisture or smells in the fridge or freezer for best results.
Nutrition Snapshot & Healthier Options
Halloween Oreo Cake Bars are a treat, so it’s no surprise they lean toward the sweet side. Here’s what you need to know if you want a lighter touch or are serving guests with food goals in mind.
Approximate Nutrition (1 bar, out of 20):
- Calories: 180–220
- Carbs: 28–32g
- Sugar: 18–22g
- Fat: 8–11g
- Protein: 2–3g
This can vary based on cake mix, add-ins, and size of each bar.
Looking for Healthier Tweaks? Try these:
- Use reduced-sugar cake or brownie mix. Most grocery stores carry them.
- Swap for low-fat Greek yogurt or unsweetened applesauce for some of the oil.
- Skip extra candy. The Oreos provide lots of flavor and crunch.
- Go gluten-free, dairy-free, or eggless by using safe cake mixes and sandwich cookies (many allergy-friendly options are widely available).
- Cut into smaller squares for portion control at parties.
Making bars that fit your needs is simple and still results in a festive dessert that everyone can enjoy—even if it’s just a smaller bite.
Frequently Asked Questions
You might wonder about the best swaps, storage, or how to make your bars stand out. Here are quick answers to questions people ask most about Halloween Oreo Cake Bars.
Do I need Halloween Oreos, or can I use regular ones?
Halloween Oreos make your bars bold and fun, but any chocolate sandwich cookie will work. The filling color gives holiday spirit, but taste stays almost the same.
Can I use brownie mix or cake mix?
Yes! You can use either. Cake mix yields a lighter, fluffier bar while brownie mix makes them fudgier and richer. Both turn out great, so use your favorite.
Can I make these gluten-free or vegan?
Swap in gluten-free or plant-based cake mixes and allergy-friendly sandwich cookies. Use egg replacers if baking vegan. Check ingredient lists on special edition Oreos for dairy or wheat.
How do I keep my bars from getting soggy?
Cool bars completely before covering or storing. Storing with parchment between layers keeps condensation away. Avoid stacking while still warm.
Will these bars freeze well?
Yes. Wrap tightly and freeze for up to 2 months. Thaw overnight in the fridge or on the counter. The texture stays chewy, though Oreos soften a little.
What’s the best way to cut bars without crumbling?
Chill the bars after baking, then use a large, sharp knife. Wipe the blade between cuts for smooth, bakery-style edges.
With these tips, each batch of Halloween Oreo Cake Bars stays festive, fun, and easy to serve—no matter if you’re prepping ahead for a crowd or keeping a secret stash for yourself.
Conclusion
Halloween Oreo Cake Bars capture everything fun about the season—bold colors, playful decorations, and that crowd-pleasing flavor mix of chocolate and cream. With plenty of ways to customize, they fit nearly any gathering or taste. These bars always bring a smile, whether you’re stacking them up for a party or sneaking one as a late-night treat.
Give this recipe a try and see how quickly your batch disappears. Share your creative twists or decorating wins in the comments or tag your photos so others can join in the fun. Thanks for stopping by and making your kitchen a little more festive this Halloween!

