Authentic Red Chile Beef Enchiladas Worth Every Bite
There is something deeply comforting about a pan of enchiladas bubbling away in the oven, filling the kitchen with that rich, smoky aroma. These Authentic Red Chile Beef Enchiladas Worth Every Bite have been my go-to when I want a dinner that feels both grounding and a little special. The red chile sauce alone is worth the effort. It is silky, earthy, and just spicy enough to warm you from the inside out.
I started making homemade enchiladas years ago after watching my aunt toast dried chiles on a quiet Sunday afternoon. The scent was nutty and slightly sweet, and I remember standing by the stove, listening to that gentle crackle as the skins softened. Since then, this authentic enchilada recipe has become a regular in my kitchen, especially on cool evenings when comfort food just makes sense.
You will notice the glossy sauce clinging to each tortilla, the tender beef tucked inside, and those crispy edges that form as everything bakes together. It comes together in about 1 hour, and most of that time is hands-off while the oven does its work.
My husband always sneaks one straight from the pan, and honestly, I do the same. Grab a skillet and a blender, and let’s get cooking.
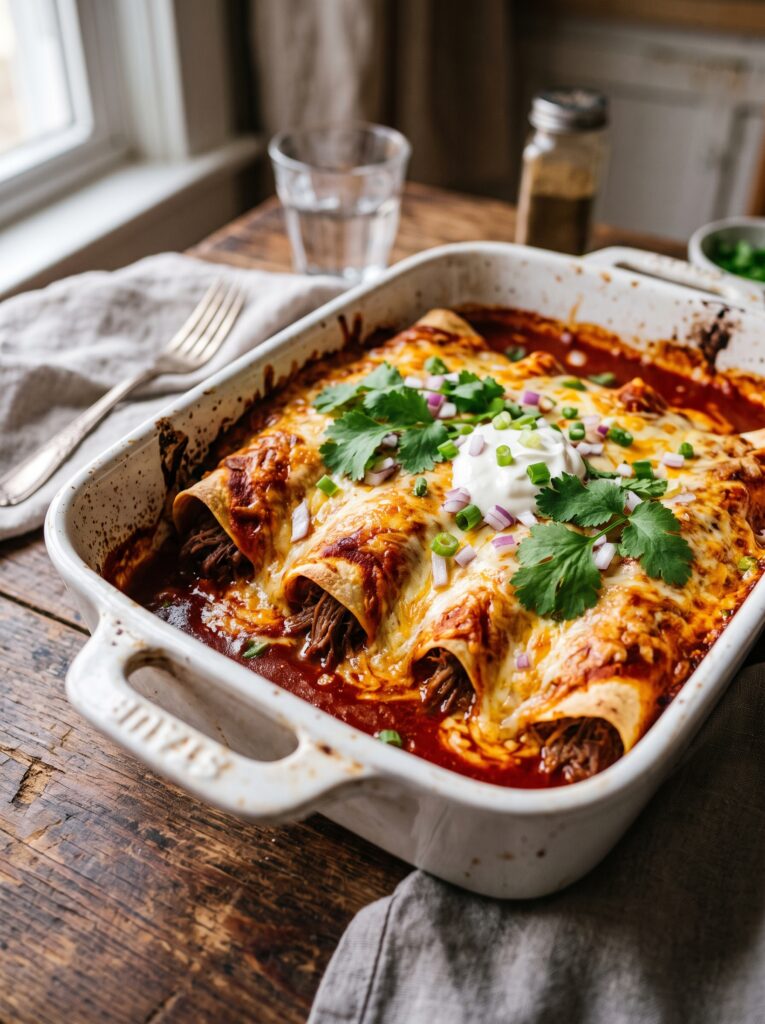
What is Authentic Red Chile Beef Enchiladas Worth Every Bite?
Authentic Red Chile Beef Enchiladas Worth Every Bite are a traditional Mexican dish made by filling soft corn tortillas with seasoned beef, rolling them, and baking them in a rich red chile sauce until tender inside with lightly crisp edges and a warm, deeply savory finish.
They are built on simple ingredients like dried red chiles, ground beef, corn tortillas, and queso fresco, coming together into a homemade enchiladas dish that feels both rustic and satisfying. Each bite is saucy and silky with a gentle heat, balanced by creamy cheese and that irresistible contrast of soft centers and golden edges, a hallmark of classic Mexican comfort food.
You Might Also Love These Recipes
- No-Bake Pecan Praline Coconut Cookies. Sweet, chewy bites with toasted coconut, buttery pecans, and a glossy praline finish that melts softly on your tongue.
- Crumpets with Butter. Warm, airy crumpets with golden edges soak up melting butter, creating a soft, spongy texture with rich, comforting flavor.
- Raspberry Jam. Bright, ruby-red jam bursting with tart-sweet flavor, thick and glossy with a fresh berry aroma that lingers beautifully.
- Savory Chicken Parmesan Casserole. Bubbly, cheesy layers of tender chicken and rich tomato sauce with crisp golden topping and irresistible savory aroma.
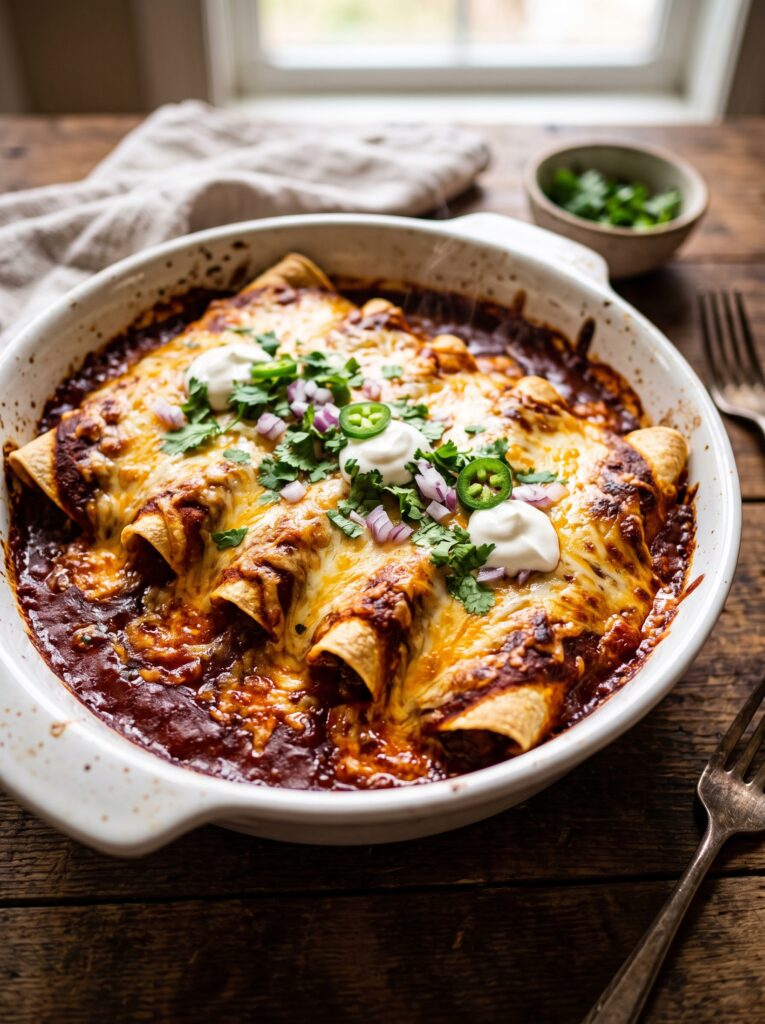
Why You’ll Love
- Perfect texture contrast. Soft, sauce-soaked tortillas hug tender beef while the edges bake up lightly crisp and golden.
- Deep, smoky flavor. Homemade red chile sauce delivers earthy heat, gentle sweetness, and a rich, slow-simmered taste in every bite.
- Surprisingly simple steps. This authentic enchilada recipe breaks down into easy, manageable stages with no complicated techniques required.
- Weeknight-friendly timing. Comes together in about an hour, with most of the time hands-off as the oven bubbles and finishes the dish.
- Real, pantry ingredients. Uses dried chiles, corn tortillas, and everyday staples that build bold flavor without anything overly fancy.
- Perfect for any occasion. Ideal for cozy family dinners, casual gatherings, or meal prep, and these homemade enchiladas reheat beautifully the next day.
Key Ingredients
- Dried New chiles. These create that deep red color and earthy aroma in authentic red chile sauce. Toast lightly until fragrant, then soak until soft and pliable.
- Plum tomatoes. They add subtle sweetness and body, balancing the chile heat with a bright, slightly tangy note. Roast until blistered for richer flavor.
- Yellow onion. Brings mellow sweetness and depth once softened and lightly charred. I prefer firm, heavy onions for the best flavor base.
- Garlic cloves. Roasted garlic turns buttery and mellow, adding warmth without sharpness. Leave skins on while roasting to protect delicate oils.
- Ground cumin. Adds warm, nutty undertones that anchor the homemade enchiladas flavor. Toast briefly in a dry pan to wake up its aroma.
- Lean ground beef. Juicy yet not greasy, it gives the filling a rich, savory bite. I often use 90 percent lean for the best balance.
- Corn tortillas. Essential for that soft yet slightly chewy texture that defines an authentic enchilada recipe. Warm before rolling to prevent cracking.
- Queso fresco. Mild, creamy, and slightly crumbly, it melts gently without becoming greasy. Look for fresh brands in the refrigerated Latin section.
- Apple cider vinegar. Adds a subtle tang that brightens the sauce and cuts through richness. Use a splash only to avoid overpowering.
How to Make Authentic Red Chile Beef Enchiladas Worth Every Bite
- Toast the chiles. Heat a dry skillet over medium heat and press dried chiles until fragrant and slightly darkened, about 30 seconds per side. Do not burn them or the sauce turns bitter.
- Soak and blend. Transfer toasted chiles to hot water until soft, then blend with roasted tomatoes, garlic, and cumin until smooth and deep red. Strain for a silky texture.
- Simmer the sauce. Pour the blended red chile sauce into a pan and simmer gently until thickened and glossy, about 10 minutes. Stir often as the aroma turns rich and earthy.
- Cook the beef. Brown ground beef in a skillet until sizzling and caramelized, breaking it into small crumbles. Drain excess fat for a cleaner, balanced filling.
- Warm the tortillas. Heat corn tortillas briefly in a skillet or microwave until soft and pliable. This prevents cracking and keeps your homemade enchiladas easy to roll.
- Dip and fill. Lightly coat each tortilla in warm sauce, then fill with beef and a sprinkle of queso fresco. The tortillas should feel soft and slightly sticky.
- Roll and arrange. Roll tightly and place seam-side down in a baking dish, nestling them close so they hold shape while baking and absorb sauce evenly.
- Bake until bubbling. Pour remaining sauce over the top and bake at 375°F until bubbling and lightly crisp at the edges, about 20 minutes. The top should glisten.
- Rest and serve. Let the enchiladas sit for 5 minutes before serving so the sauce settles and thickens slightly, making each bite rich, cohesive, and satisfying.
Zara’s Expert Tips
- Toast with care. After making this 100+ times, I never rush this step. Chiles should smell warm and nutty, not sharp or burnt, or your red chile sauce turns bitter.
- Strain for silkiness. Always push the blended sauce through a fine mesh sieve. This removes tough skins and seeds, giving your homemade enchiladas that smooth, restaurant-style finish.
- Warm tortillas properly. Heat each tortilla for about 20 seconds until soft and steamy. This prevents cracking and keeps the texture tender when rolled and baked.
- Balance the flavor. If your sauce tastes flat, add a teaspoon of vinegar or a pinch of salt. That small adjustment brightens the whole dish instantly.
- Let them rest before serving. My grandmother always said good enchiladas need a moment to settle. Five minutes helps the sauce thicken and cling, creating that rich, cohesive bite.
- Use the right cheese. Choose crumbly queso fresco for a light, creamy finish. It should taste fresh and milky, not overly salty or greasy when melted.
How to Store
- Refrigerator storage. Store cooled enchiladas in an airtight glass container for up to 3 days, keeping the sauce thick and flavors deeply melded.
- Freezer option. Freeze tightly wrapped portions for up to 2 months, though tortillas soften slightly after thawing but still taste rich and satisfying.
- Make-ahead prep. Assemble enchiladas up to 24 hours in advance, cover well, and refrigerate before baking for fresh, bubbling results the next day.
- Reheating leftovers. Warm in a 350°F oven covered with foil for 15 minutes to restore moisture and keep edges from drying out.
- Meal prep portions. Divide into single servings with extra sauce to keep them moist, making lunchboxes flavorful and easy to reheat.
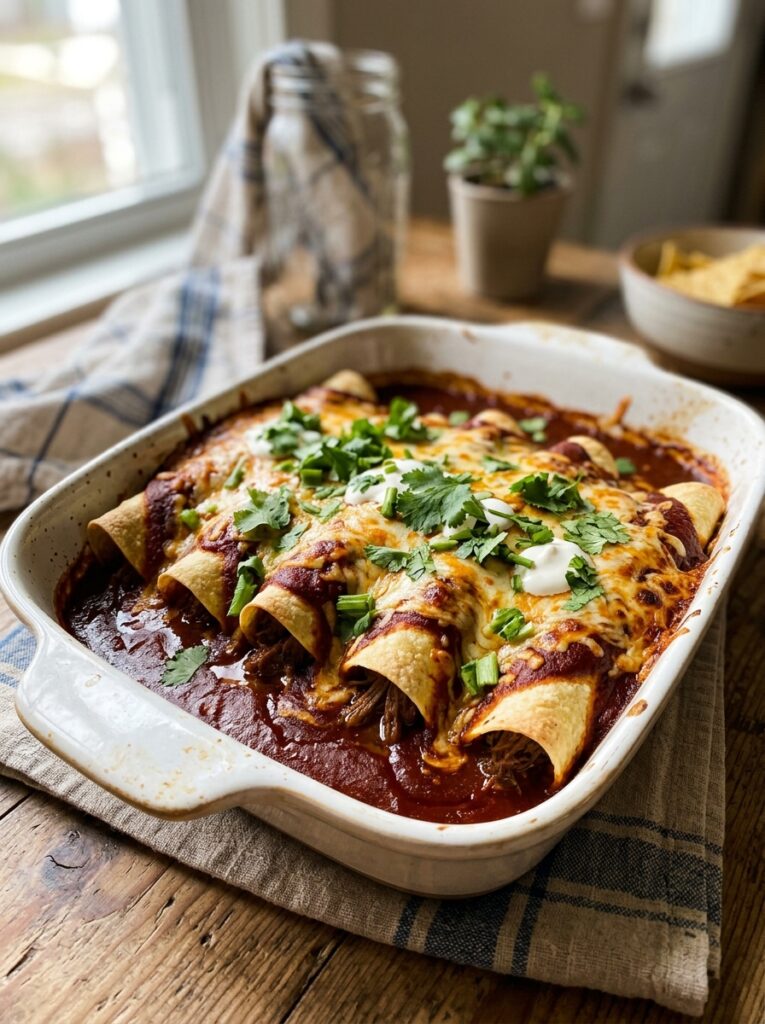
Variations and Substitutions
- Chicken enchiladas. Swap beef for shredded chicken simmered in sauce, creating a lighter, juicy filling that soaks up that smoky red chile flavor beautifully.
- Vegetarian version. Replace meat with sautéed mushrooms and black beans for a hearty, earthy bite with rich texture and satisfying depth.
- Dairy-free option. Skip queso fresco or use a mild vegan cheese, keeping the enchiladas creamy without losing that warm, savory finish.
- Gluten-free friendly. Stick with corn tortillas and double-check sauces, ensuring a naturally gluten-free enchilada recipe with the same tender, saucy texture.
- Spicier twist. Add a few arbol chiles or chipotle for deeper heat and a smoky kick that lingers pleasantly on the palate.
- Kid-friendly style. Use a milder chile blend and extra cheese for a softer, creamy flavor that balances heat with comforting richness.
- Budget swap. Use ground turkey or beans instead of beef, creating a lighter, affordable version that still tastes warm, saucy, and satisfying.
What to Serve
- Mexican rice. Fluffy, tomato-scented rice balances the rich sauce and adds a soft, savory base to every forkful.
- Refried beans. Creamy, warm beans bring a smooth texture that complements the saucy, slightly crisp enchilada edges beautifully.
- Simple cabbage slaw. Crisp, tangy slaw adds fresh crunch and brightness, cutting through the deep, smoky flavors of the enchiladas.
- Grilled street corn. Charred kernels with creamy topping add sweet, smoky contrast and a juicy bite alongside the hearty filling.
- Horchata or iced tea. Cool, lightly sweet drinks refresh the palate and mellow the gentle heat of the red chile sauce.
- Cinnamon churros. Warm, sugary churros with a crisp exterior and soft center finish the meal on a comforting, indulgent note.
Frequently Asked Questions
Can I make these enchiladas ahead of time?
Yes, you can assemble them up to 24 hours ahead and refrigerate covered. Bake just before serving so the sauce stays glossy and the edges turn lightly crisp.
How long do enchiladas last in the fridge?
They last up to 3 days in an airtight container. The flavors deepen over time, though tortillas soften slightly as they absorb more of the rich red chile sauce.
Can I substitute the beef with another protein?
Yes, shredded chicken, ground turkey, or beans work well. Each option absorbs the sauce differently, but still delivers a tender, flavorful filling with satisfying texture.
Are these enchiladas gluten-free?
Yes, when made with corn tortillas and verified gluten-free ingredients, this authentic enchilada recipe is naturally gluten-free with the same soft, saucy consistency.
Why is my enchilada sauce too bitter?
Bitterness usually comes from over-toasting chiles. Toast just until fragrant and pliable, then balance the sauce with a small splash of vinegar or pinch of salt.
What is the best cheese for enchiladas?
Queso fresco is ideal for its mild, creamy texture. It softens gently without becoming greasy, giving your homemade enchiladas a fresh, balanced finish.
How do I reheat enchiladas without drying them out?
Reheat covered in a 350°F oven for about 15 minutes. Adding a spoonful of extra sauce keeps them moist and restores that warm, saucy texture.